Welcome to Spark Business Messaging. This brief guide will give you an easy overview so you can manage your services in Spark Business Messaging.
Logging On
To log in to Spark Business Messaging, please visit https://businessmessaging.spark.co.nz/
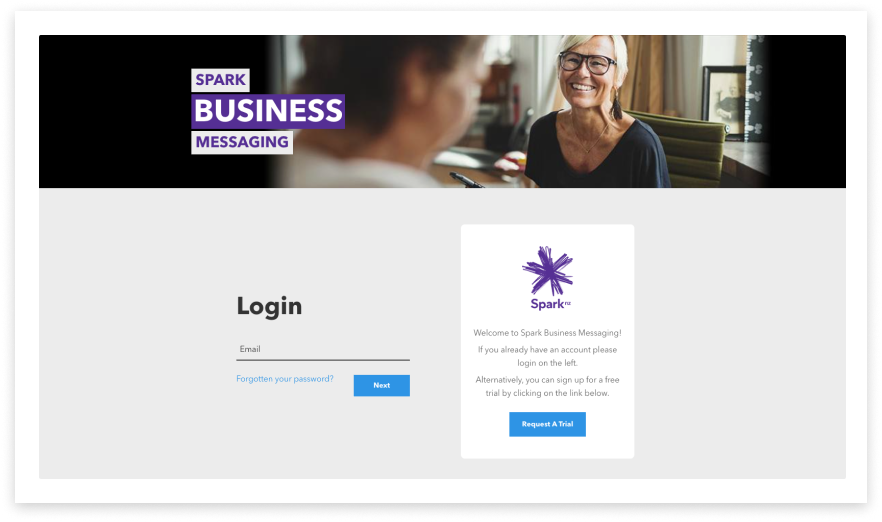
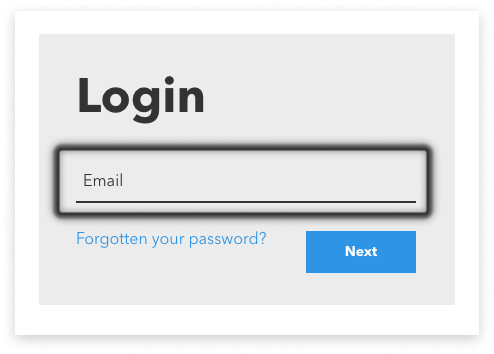
Enter a registered email address or username, and click ‘Next’
-
Enter your password, or
-
If your organisation is configured to use Federated Identity for login, you will be redirected to your Identity Provider
Note: Federated Identity credentials will be supplied by your organisation

If login is not working, reset your password before the account is locked.
-
Click the link in the error message, or
-
Click the “Forgotten your password” link on-screen
-
Enter an email address or username and a reset email will be sent
Contact Support if your account is locked.
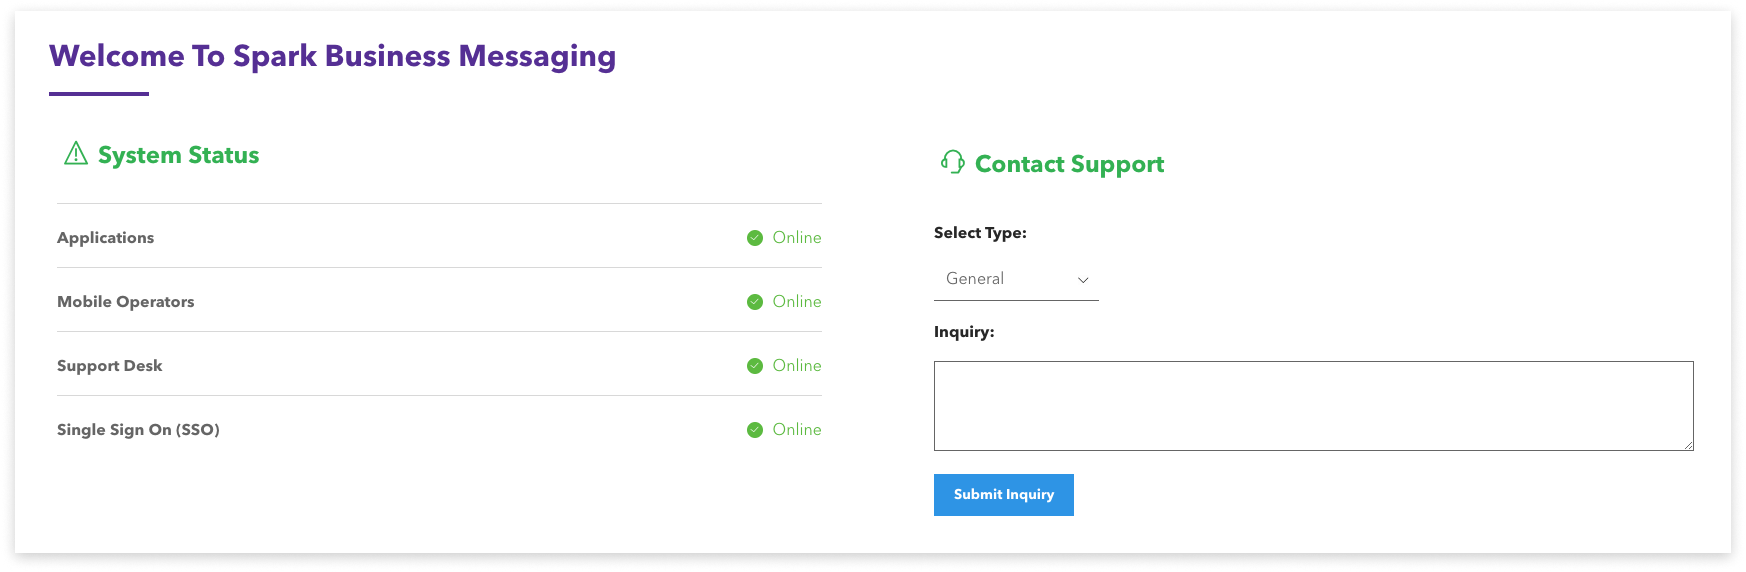
Dashboard
After logging in you will land on the Dashboard. This provides a snapshot overview of your system. Areas of the dashboard include:
- System Status: information on whether all systems are up and running
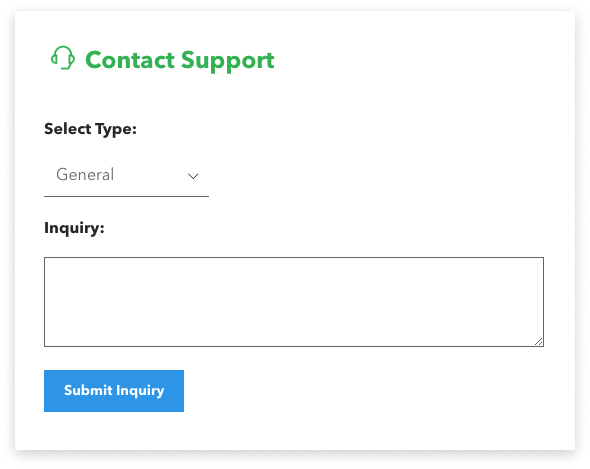
- Contact Support: send enquiries, request help, or register a Sender ID here
- Daily Message Count: visualisation of the current month’s message volume, by day
- Usage Report: a count of the total message volume this month
Side Menu
The main navigation is on the left-hand side of the screen. User permissions determine the visibility of some areas in Omni, as well as functionality inside those areas. Contact your account Admin or email sparksupport@modicagroup.com if you believe your permissions require updating.
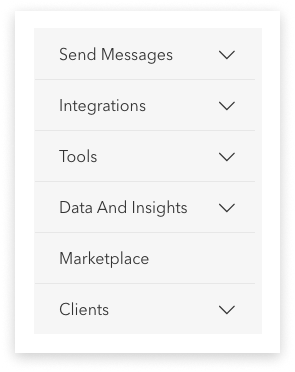
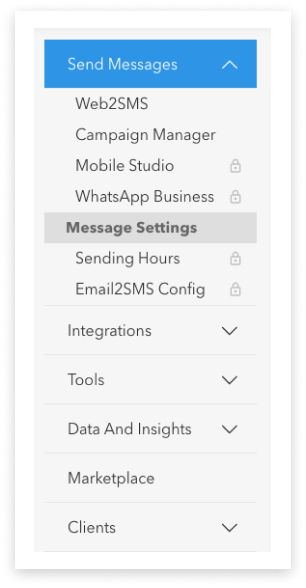
Send Messages
Applications and Settings for sending messages. User Guides are available for each.
- Available: configured applications ready for sending messages
- Locked: these applications are available on request
- Message Settings: customise allowed hours of sending with Sending Hours, or request and configure Email2SMS
Integrations
API Configuration, as well as security API and third-party applications such as Zapier and Salesforce CRM.
Tools
Tools are available to support sending of messages, such as Link Shortening, or a Character Set Checker.
This is also where you can open this supporting Help Documentation from (as well as in the top menu).
Data & Insights
Data on message volume, mobile numbers, and delivery receipts for your configured applications.
- Read more information on Data & Insights here
Finance
Information about invoices, credit and payment methods, and statements.
Marketplace
A marketplace of available products and services, as well as those under development, or being considered for development.
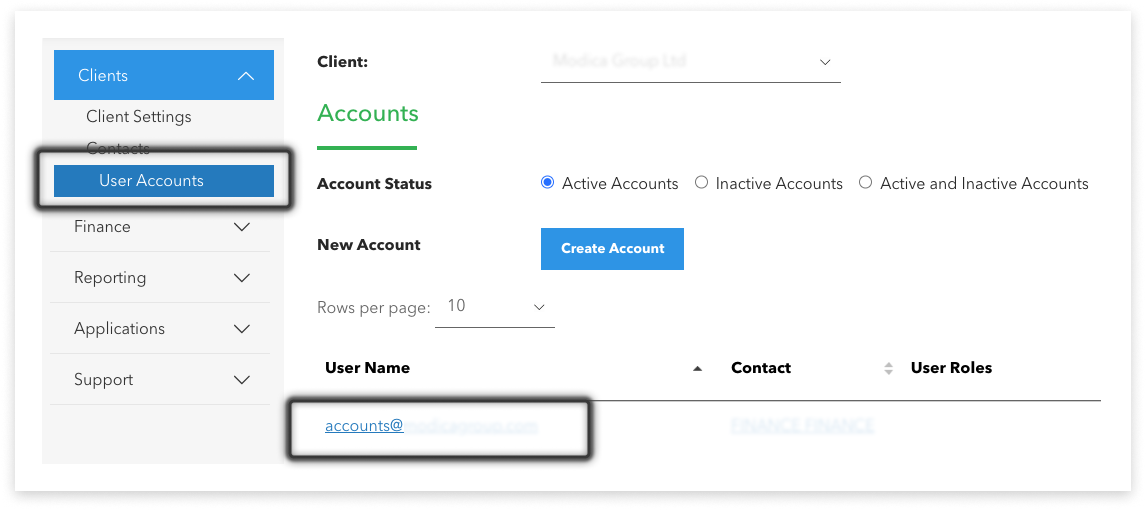
Clients
Client account and User Account details and settings.
- Settings: the details and settings of the overall business account
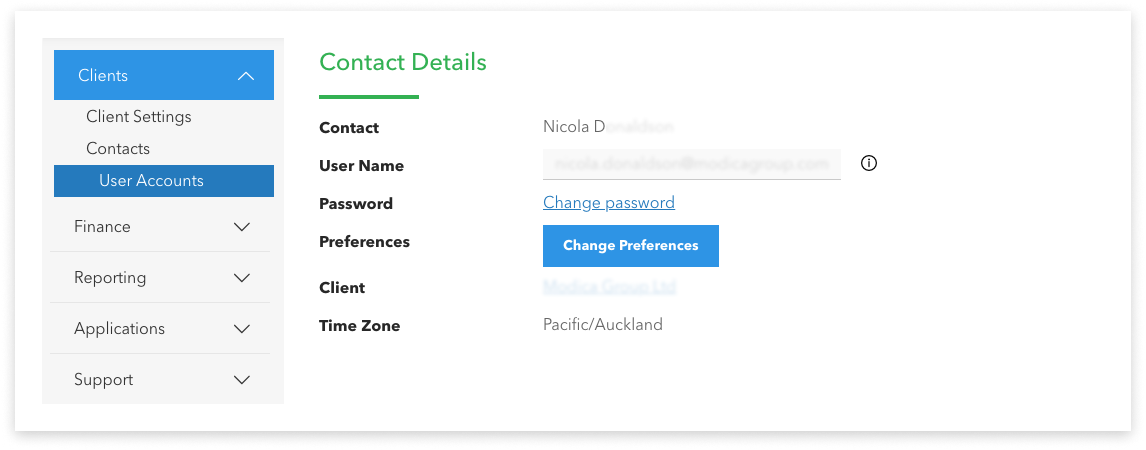
- User Accounts or Account Details: reset your password (and for those users with permissions, also permissions controls)
- Contacts: those users with permissions, will be able to access a Contact list of staff with access to the platform
Top Menu
Network Status
The Network Status page provides information about any technical issues
Support Tickets
Links to view existing Support Requests. More information on how to request support is below.
Help Docs
This links back here to the Spark Business Messaging Knowledge Base
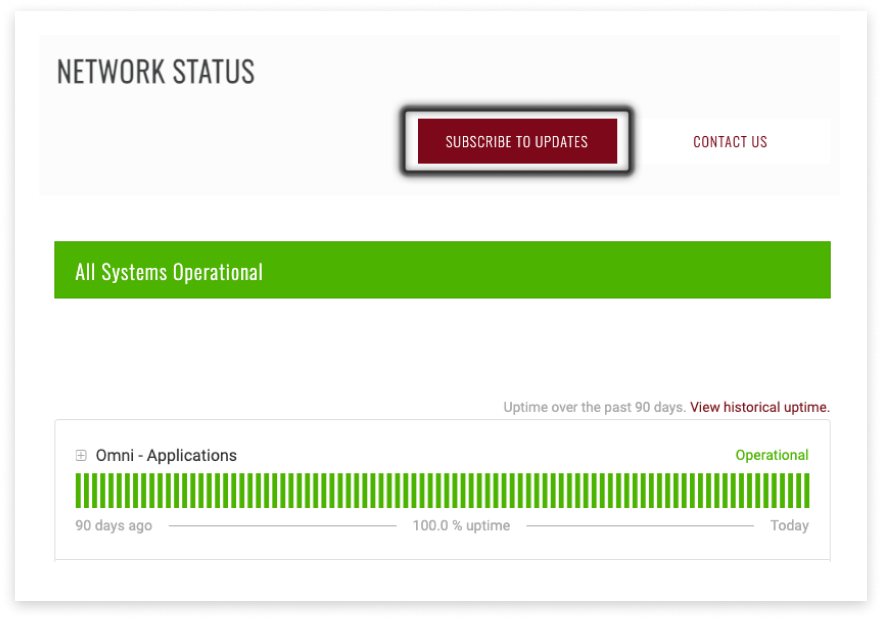
Spark Business Messaging recommends subscribing to notifications
Once on the page, you can add your email address. Any outages and outage updates will be emailed to those that are subscribed.
There are a number of other notification processes depending on the application type you have. Please discuss your requirements with your Account Manager, so we can ensure you are informed as much as you need to be.
Request Support
Report a system problem, book a training, suggest feature improvements, or make billing enquiries via:
- SBM: request support via the ‘Contact Support’ area of Spark Business Messaging Dashboard
- Email: send a request to sparksupport@modicagroup.com. A reply containing the details of the ticket will be sent back.
- Support Centre: submit a ticket through the Support Centre
A member of our friendly Support Team will get back to you as soon as they can; usually within 24 hours.